Divi Visual Builder is a tool you can use to make changes to your website without having to write any code.
How to enable the Divi Visual Builder:
- Log into WordPress
- Go to the page you want to edit
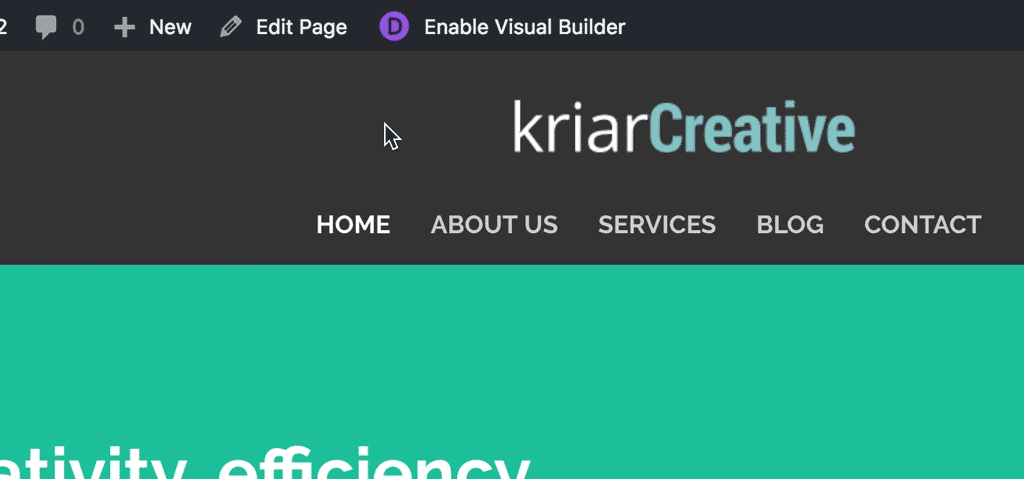
- Click on Enable Visual Builder in the top bar
Text
Making changes to text with the Divi Visual Builder is as simple as clicking and typing. 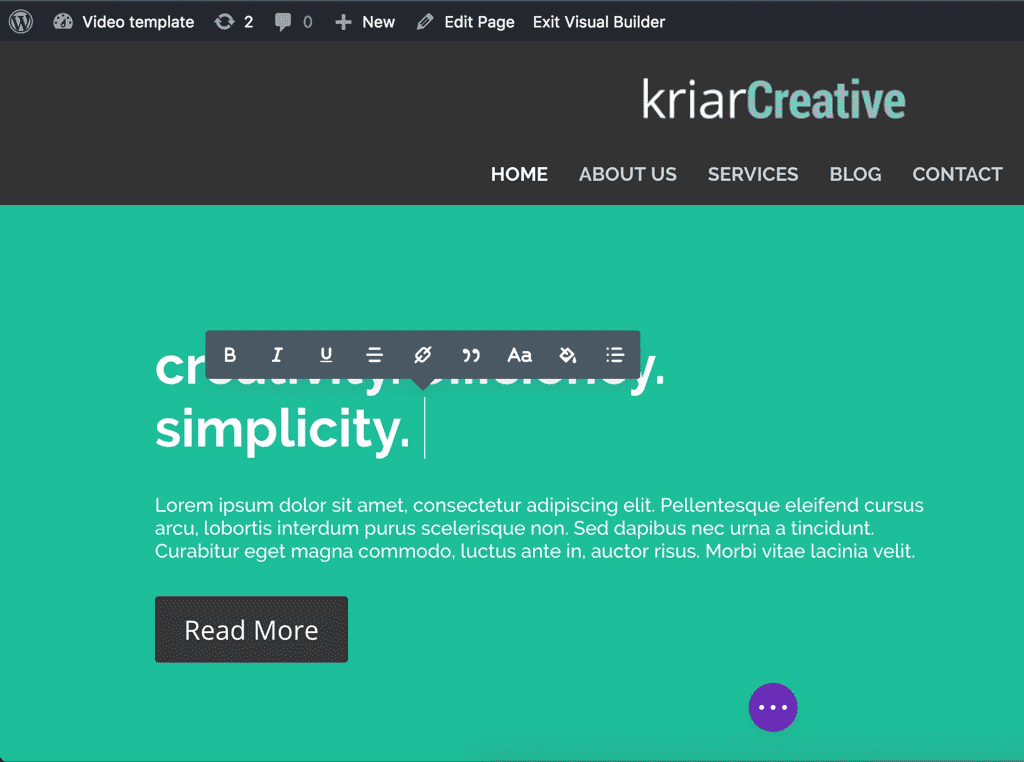 You can edit almost any text element by clicking on it. You can even make formatting changes like text alignment, colour and font. To save your changes, click on the purple icon at the bottom of the page, and click save in the bottom right hand corner.
Images
To replace an image, start by hovering your mouse over it. A grey panel should appear with some icons inside it. Click on the cog icon. This will open a new panel with settings related to this specific element. In this new panel, look for an option called ‘Image URL’. It will already have a link pasted into the field below.  To change it to another image, click on the Upload button. You can either upload a new image, or use an existing image from your media library. When you’re happy with your changes, click on the green tick, then click save.
Other elements
You can access options for every Divi element by hovering, then clicking on the cog icon in the grey menu. 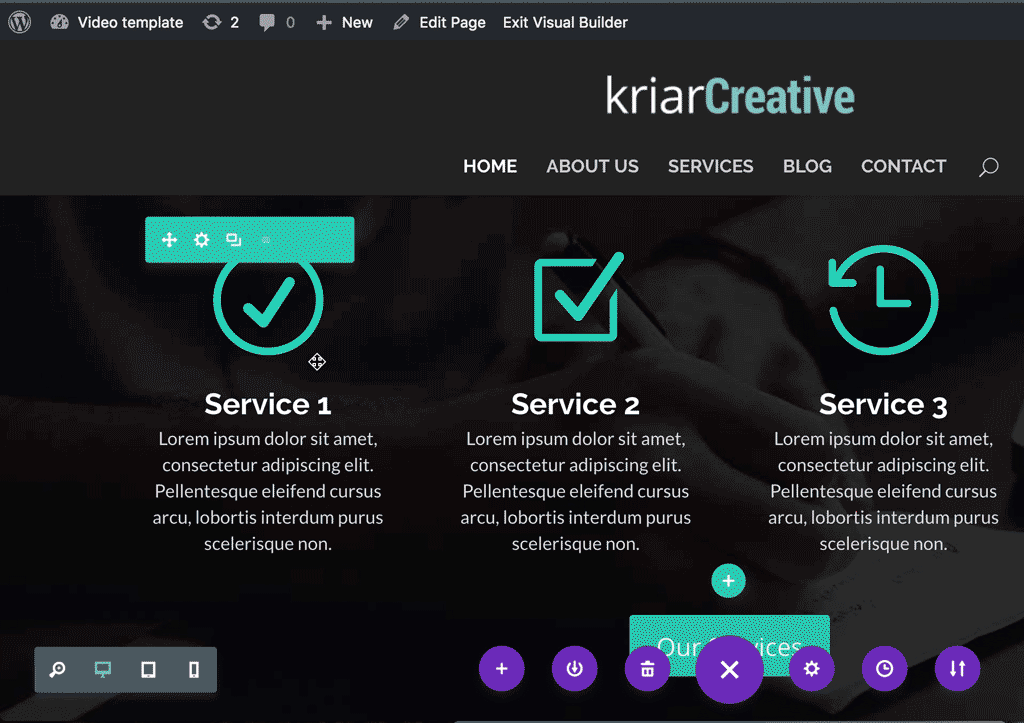 Here you will be able to make all kinds of changes. Remember, if you’re looking for more options, always look for the cog icon!
Creating new elements
In Divi, three basic elements make up most pages. They are: Sections, Rows and Modules. Sections contain Rows, and Rows contain Modules. Sections are blue (sometimes purple or red), Rows are green and Modules are Grey.
Sections
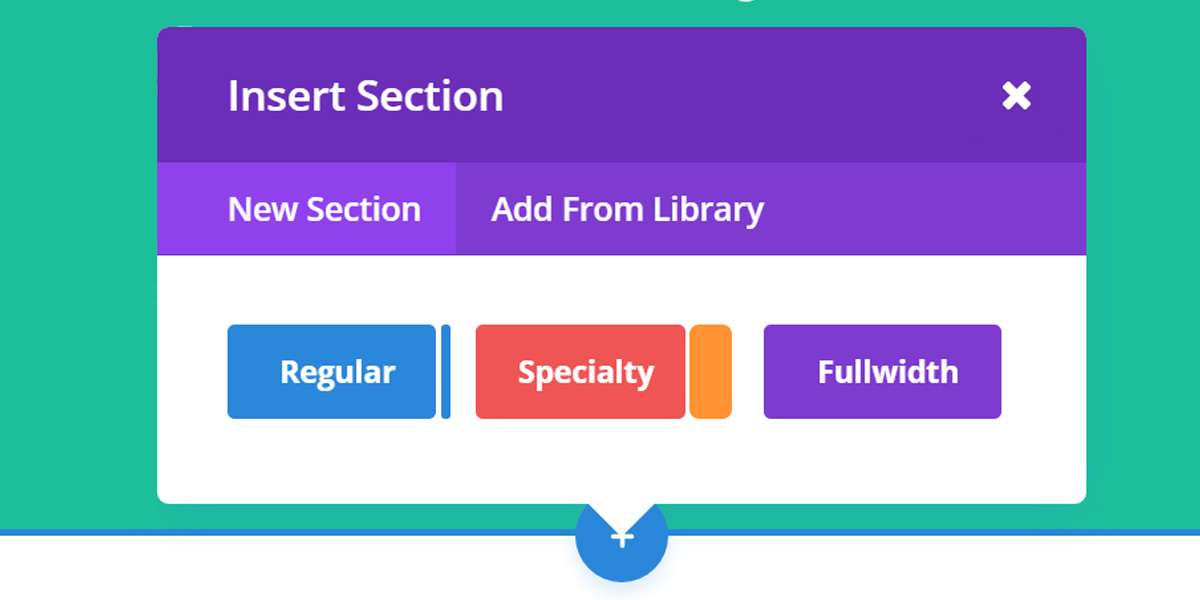
 To create a new section, hover over an existing section and click the plus sign icon. A section also has it’s own set of options you can access by hovering and clicking on the cog icon. Here you’ll be able to customise things like background, colours, animation and spacing.
Rows
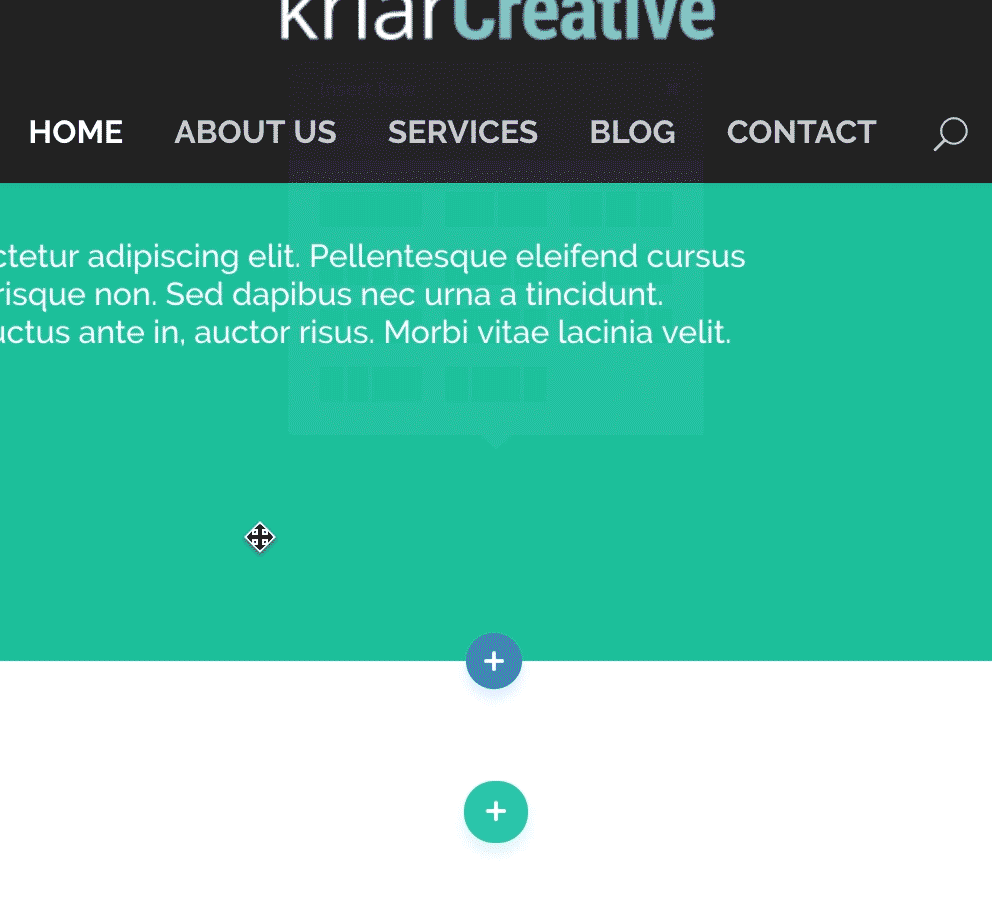 Within your new section, you can now create a new row by clicking on the green plus sign icon. Rows are special because they can be set to contain a specific number of columns. Rows also have their own set of options behind (you guessed it) the cog icon in the green menu. These options include: custom gutter width, spacing and various background options. You can even customise each individual column within a row by clicking on the Design tab.
Modules
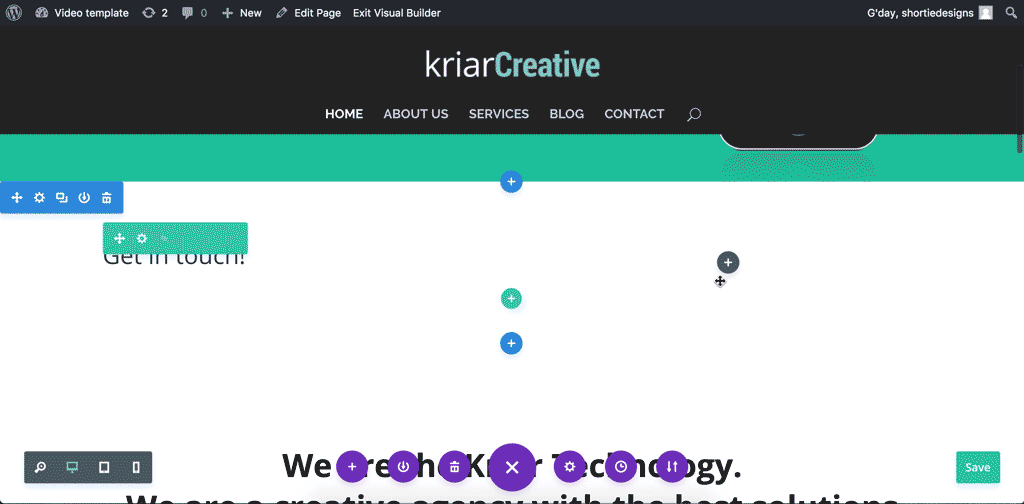 Once you have your section and row set up, you can add a new module. There are many pre-made modules to choose from, including text, images, contact forms and maps.
There you have it!
To recap, you can edit most elements by hovering over them and clicking on the cog icon. To edit text, click and type. Each module must sit inside a row, and each row must sit inside a section. You can even drag and drop any element! So if you need to move something, it’s as easy as grabbing it with your mouse and dropping it where you want it to go. To delete an element, hover over it and click on the trash can icon. To copy an element, hover over it and click on the duplicate icon. Easy! If you want to learn more about the Divi Visual Builder, go here.