As WordPress web designers, one of the biggest challenges we see when handing over a new website to our clients is getting them to understand how to optimise their images for their website or blog. Below is a step by step video tutorial that demonstrates how to optimise your images so you can work them into your new content without compromising page load time or server space.
Suitable image editing programs
The most commonly used and probably the best programs to use for saving your images for your website are 1 – Photoshop: You no longer have to pay a high price tag for this program anymore as it’s available for a reasonable monthly subscription fee and you can download it to more than once computer at time. It’s compatible with Mac and PC. 2 – Gimp: This is a widely used open source program which is a fantastic for editing images and optimising images for the web, you will also need to install the save for web plugin
Video Tutorial
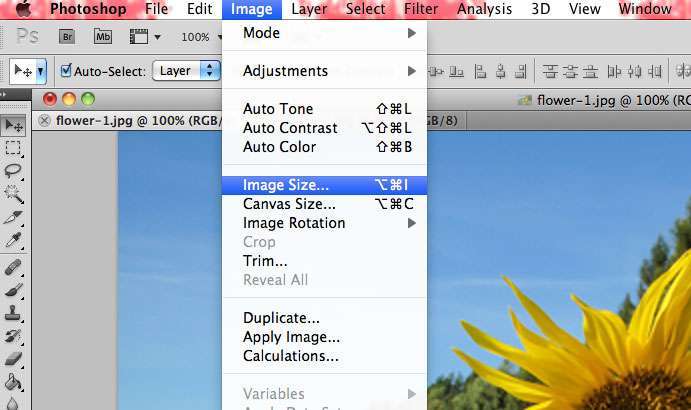
Here is a video tutorial that takes you through the process of optimising images for your website or blog using Photoshop CS5. It’s the same process for CS4 and CS6.
How have you optimised your images for your website?
Use the comment box below to join in the conversation.
